How to Document a Slip and Fall Accident in Chicago: Photos, Incident Reports, and Witness Statements Explained
In Chicago, you should document a slip and fall within the first 24 hours—photos, an incident report, and witness contacts can be the difference between a paid claim and a denied one. Property conditions change fast (spills get cleaned, ice melts, cameras overwrite), and Illinois negligence rules put a premium on proof. This article explains exactly what to photograph, how to request reports and video, and how to preserve witness statements for a strong claim.
Why documentation decides Chicago slip and fall cases
In a Chicago slip and fall claim, the legal dispute often isn’t whether you fell—it’s whether the property owner (or manager, tenant, or contractor) failed to keep the premises reasonably safe or failed to warn of a dangerous condition. Under Illinois premises liability principles, you generally need evidence showing: (1) a dangerous condition existed, (2) the defendant knew or should have known about it, and (3) the condition caused your injuries and damages.
Documentation creates the timeline and the proof. Spills get mopped, potholes get patched, entry mats get replaced, and winter ice melts. Meanwhile, surveillance systems in retail stores, apartments, and parking garages may overwrite footage quickly. A well-documented file can also blunt common defense arguments, such as “the hazard was open and obvious,” “you weren’t watching where you were going,” or “you were injured somewhere else.”
Step 1: Photograph and video the scene—what to capture in Chicago
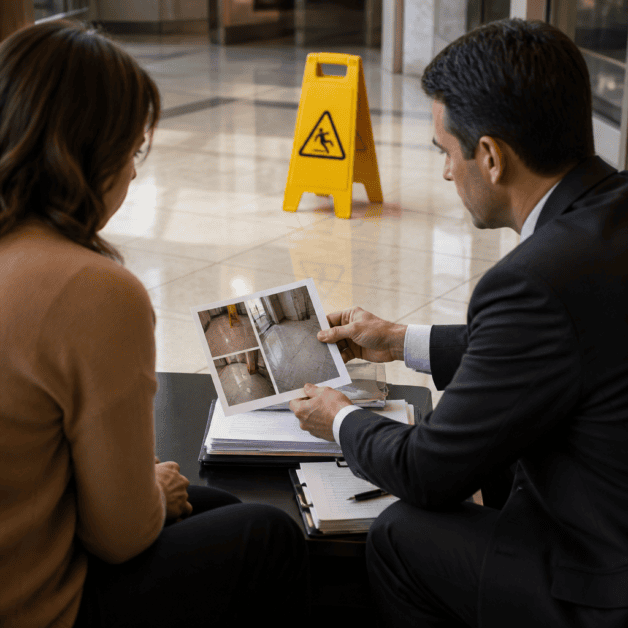
Photos are usually the fastest, most persuasive proof because they preserve conditions as they existed at the time of the fall. If you can safely do so, take pictures before you leave the area. If you cannot, ask a trusted person to take them. Use your phone’s default camera settings so the images retain time-and-date metadata.
1) Wide-to-close coverage (the “storyboard” method)
Take a sequence:
Wide shots: Show the full area (aisle, vestibule, sidewalk, stairwell, lobby). Include landmarks like store signs, building numbers, street signs, or recognizable features.
Mid-range shots: Show the exact path you walked and the location of the hazard relative to entrances, exits, and fixtures (e.g., “spill next to the freezer door,” “ice ridge along curb cut”).
Close-ups: Show the substance/defect itself: water, oil, food, black ice, torn carpet, broken stair nosing, uneven concrete, missing handrail, poor lighting, or curled mat edges.
2) Add scale and measurements
Chicago slip and fall claims often turn on whether a condition was “unreasonably dangerous.” When possible, include a scale reference:
Use a common item (coin, key, shoe) or a tape measure/ruler to show depth/height differences in sidewalk cracks, potholes, or raised edges.
For stairs, photograph each step and capture any inconsistent riser heights, worn tread, or loose nosing. A short video walking the stairs (without risking another fall) can show lighting and visibility issues.
3) Document warnings—or the lack of them
Photograph:
Wet floor signs (or the absence of them)
Cones, caution tape, barricades
Handwritten notices, temporary mats, “use other entrance” signs
If signs exist, capture their distance from the hazard and whether they were visible from your approach.
4) Capture conditions that change quickly in Chicago
Local conditions matter. For winter falls, photograph:
Accumulated snow/ice, including at curb cuts and bus stops
Ice sheen (black ice is hard to see—video with angled light can help)
Nearby downspouts or gutters that may be causing refreeze
Salt/sand presence or absence
Also capture weather context: a quick screenshot of the weather app can help later, but your on-scene photos are usually more persuasive.
5) Don’t forget footwear and clothing
Defense attorneys frequently argue footwear caused the fall. Photograph the shoes you were wearing (tread condition, wetness, debris stuck to the sole) and any torn clothing that shows contact points. Preserve the shoes in the same condition—don’t clean them if they have residue relevant to the hazard (e.g., oily film).
Step 2: Report the incident immediately and request an incident report
Notifying the property owner or manager creates a contemporaneous record. It also helps identify who had control of the area—an issue that matters in Chicago where multiple entities may share responsibilities (e.g., building owner, property management company, commercial tenant, snow-removal contractor).
Where to report, depending on location
Retail store or restaurant: Ask for the manager on duty and request an incident report.
Apartment/condo common area: Notify building management or security; request written confirmation.
Parking garage: Notify the attendant or management company; document the garage name and level.
Public property: If emergency services respond, get the responding agency’s report information. For city-maintained areas, consult counsel quickly about notice requirements and responsible entities.
What to say (and what not to say)
Provide basic facts:
Date, time, exact location
What you slipped/tripped on (e.g., “clear liquid near produce aisle,” “ice at the front steps”)
Injuries you noticed and that you want medical evaluation
Request that the area be preserved and that any video be saved
Avoid guessing, minimizing injuries, or apologizing. Statements like “I’m fine” or “I wasn’t paying attention” can be used to reduce or deny your claim. If you don’t know something, say you don’t know.
How to handle the incident report
Incident reports are often written by employees, and they may not include important details unless you insist they do. Before leaving:
Ask for the report number, manager’s name, and a copy (or a photo) if they will provide it
Confirm the description is accurate (location, hazard, time)
If they refuse a copy, write down who refused and when, then follow up in writing (email is ideal)
Take a photo of any business card or name badge of the person you spoke with.
Step 3: Identify and secure witness statements the right way
Neutral witnesses can tip a Chicago slip and fall case from “your word vs. theirs” to a corroborated claim. A witness may confirm the hazard existed, how long it was there, whether employees knew about it, or whether prior complaints were made.
Who counts as a helpful witness
Look for:
Other customers or residents who saw the fall or the hazard beforehand
Employees who admit knowledge (“we’ve been meaning to fix that”)
Security guards, maintenance staff, or delivery personnel
People who helped you up or offered towels/ice/salt
What information to collect on the spot
Get:
Full name
Phone number and email
Home city/state (helpful later for subpoenas)
A short summary in their own words (text message or voice memo is fine if they consent)
If they are willing, ask them to text you a brief statement describing what they saw. Example prompt:
“Can you text me what you saw—where it happened, what was on the floor/ground, and whether you noticed it before I fell?”
Best practices (avoid common mistakes)
Don’t coach. Ask open-ended questions.
Don’t argue. If a witness is uncertain, collect their contact info anyway.
Don’t delay. People forget details quickly, and phone numbers change.
Step 4: Preserve surveillance video and other time-sensitive evidence
Many Chicago properties have cameras covering entrances, aisles, elevators, and parking areas. But systems often overwrite footage on short cycles. The key is acting fast.
Request video preservation immediately
Ask the manager to preserve footage for:
At least 60 minutes before the fall (to show how long the hazard existed and whether employees walked past it)
The fall itself
At least 60 minutes after (to show cleanup, responses, or statements made)
Also ask about cameras that may not be obvious (loading docks, adjacent hallways, ATM areas).
Send a written preservation letter (spoliation notice)
A written request—ideally sent by an attorney—puts the property on notice to preserve evidence. It typically requests retention of video, cleaning logs, maintenance records, inspection checklists, work orders, incident reports, and employee schedules. If evidence is later destroyed after notice, that can create serious issues for the defense in litigation.
Step 5: Document your injuries and treatment like a lawyer would
Even with perfect hazard photos, your claim can fail if injuries and damages are poorly documented. Insurance adjusters and defense counsel look for gaps in care, inconsistent histories, or preexisting conditions used to argue your injuries weren’t caused by the fall.
Get prompt medical evaluation and keep records
If you hit your head, have severe pain, numbness, or can’t bear weight, seek emergency care. Otherwise, urgent care or your primary doctor may be appropriate. Tell providers exactly how you fell and what body parts struck the ground. Ask for copies of:
ER/urgent care records
Imaging (X-ray, CT, MRI) reports
Discharge instructions
Physical therapy notes
Take injury photos over time
Bruises and swelling evolve. Photograph visible injuries:
Same day
48 hours later
One week later
Continue until resolved, using consistent lighting and angles.