How to Document a Texas Slip-and-Fall Hazard at H-E-B or Walmart to Prevent an Accident and Protect a Future Claim
In Texas, the most useful slip-and-fall documentation is time-stamped evidence—photos/video, witness info, and an incident report—collected within minutes of noticing a hazard. H-E-B and Walmart incidents often turn on whether the store had “actual or constructive notice” of a spill or unsafe condition. This article explains how to safely document hazards in Texas stores to help prevent an injury and preserve a future premises-liability claim.
Slip-and-fall cases in Texas are won and lost on evidence: what the hazard was, how long it was there, whether the store knew (or should have known), and whether the condition actually caused the fall and injuries. If you spot a dangerous condition at an H-E-B or Walmart—whether or not anyone has fallen yet—documenting it the right way can help prevent an accident and, if an injury occurs, protect a future premises-liability claim.
This guide focuses on safe, practical steps you can take in the moment, plus preservation steps you can take in the days immediately afterward. It is written for Texas incidents in big-box and grocery settings, where surveillance video, cleaning logs, and employee practices often become key evidence.
1) Know the Legal Standard in Texas: “Actual or Constructive Notice”
Most Texas slip-and-fall claims are “premises liability” cases. In plain terms, a store is not automatically liable just because someone slips. The legal fight usually centers on whether the store had:
- Actual notice (the store knew about the spill/condition), or
- Constructive notice (the condition existed long enough that the store should have discovered it through reasonable inspections).
That’s why documentation is so important. Photos, timestamps, witness accounts, and store records can help establish:
- What the hazard was (liquid, debris, torn mat, uneven flooring, leaking freezer, etc.).
- Where it was (aisle number, department, proximity to entrances/exits or restrooms).
- How long it likely existed (footprints in a spill, track marks, dried edges, wilted produce, ongoing leak).
- Whether the store’s safety steps were reasonable (cones, wet-floor signs, barricades, cleaning frequency).
2) Safety First: How to Document Without Making the Hazard Worse
Your first obligation is safety—yours and other shoppers’.
Do this immediately
- Stop and stabilize. If you feel unsteady, move to a safe area or hold onto a cart/fixture.
- Warn others verbally. A simple “Careful—there’s a spill here” can prevent a second injury.
- Notify an employee right away. Ask for a manager if the hazard is serious or near high-traffic areas.
Avoid these common mistakes
- Don’t attempt a cleanup yourself. It can be unsafe and may later be argued as altering evidence.
- Don’t block staff from responding. Document quickly, then let the store secure the area.
- Don’t argue about fault on the spot. Stick to reporting the unsafe condition and requesting documentation.
3) What to Photograph and Film (With Examples)
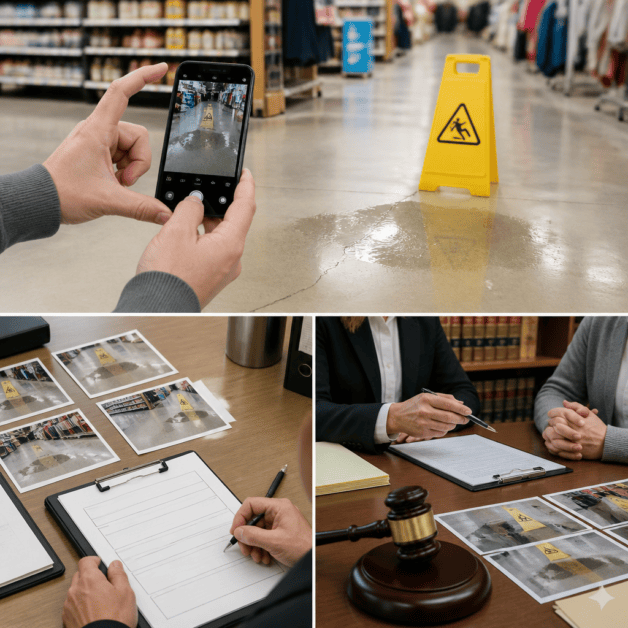
If you can safely do so, use your phone camera. The goal is to capture the hazard clearly and in context, with timestamps when possible.
Essential shots (take all if possible)
- Wide shot of the aisle/area showing where the hazard is located (include nearby signage such as aisle markers, department signs, or product displays).
- Medium shot showing the hazard relative to walking paths (e.g., the spill centered in the main aisle).
- Close-up showing texture and condition (e.g., puddle sheen, grapes on tile, torn mat edge, broken bottle shards).
- Photos from both directions (approach angle matters—what a shopper could see before stepping).
- Lighting/visibility (glare, poor lighting, obstruction by displays).
Details that help prove notice and duration
- Footprints, cart tracks, or smeared residue in a liquid spill.
- Dried edges around a puddle or sticky residue consistent with an older spill.
- Leaking source (dripping freezer, sweating produce misting system, broken container, roof leak, mop bucket trail).
- Missing or inadequate warnings (no cone, no wet-floor sign, sign placed far away, sign knocked down).
Film a short video walkthrough
A 10–20 second video can show context better than photos. Start with the aisle marker, pan to the hazard, then pan to any warnings (or absence of them). Narrate the date/time and location if your state allows and you can do so calmly.
Tip: Turn on location tagging if you’re comfortable. Save original files (don’t just upload to social media) to preserve metadata.
4) Identify Witnesses (Before They Disappear)
Independent witnesses often matter more than people realize, especially when store employees later say they “didn’t see anything.”
Who counts as a witness?
- Shoppers who saw the hazard before the fall.
- People who saw employees walk past, step around, or discuss the hazard.
- Anyone who saw the fall itself or helped afterward.
What to collect
- Name and phone number (email if they prefer).
- Brief statement in their own words (you can ask them to text you what they saw).
- What they noticed about time (e.g., “I saw that spill 10 minutes ago,” “I walked by twice,” “It had footprints already”).
Be polite and brief. Many people will help if you keep it simple: “Would you mind sharing your number in case the store asks what you saw? It’s about safety.”
5) Get the Incident Report Right (What to Say and What to Request)
If someone has fallen or you were nearly injured, ask the store to create an incident report. H-E-B and Walmart typically have internal processes for safety incidents.
How to describe the hazard
- Stick to facts: “There was a puddle of clear liquid approximately 2–3 feet wide in Aisle 12 near the dairy case.”
- Note visibility: “No cone or wet-floor sign was present when I approached.”
- Note your observation time: “I noticed it at approximately 3:20 p.m.”
What not to do
- Don’t guess at how long it was there unless you have a basis (tracks, dried edges, witness statements).
- Don’t minimize your symptoms if you fell (“I’m fine”)—symptoms often worsen later.
- Don’t accept blame in casual conversation (“I wasn’t watching”).
What to request
- The report number or a copy if they will provide it.
- Names and titles of the manager and employees who responded.
- Confirmation of the exact location (aisle, department, nearest landmark).
If the store refuses to give a copy, write down the report number, time, and who took it. That information can be critical later.
6) Preserve Surveillance Video and Store Records (Time Is Critical)
H-E-B and Walmart stores commonly have extensive camera coverage. Video can show how the hazard occurred, whether employees inspected the area, and how long the condition existed. But surveillance footage may be overwritten on a routine schedule.
Steps to take quickly
- Write down camera locations you can see (ceiling domes at aisle ends, above self-checkout, near entrances).
- Record the exact time window: 30–60 minutes before and after the incident is often relevant.
- Send a preservation request as soon as possible. An attorney can send a formal spoliation/preservation letter requesting video, incident reports, cleaning logs, and inspection policies.
Records that often matter in Texas slip-and-fall cases
- Cleaning and inspection logs for that department/aisle.
- Employee sweep policies (how often aisles are checked).
- Maintenance records for leaking equipment (coolers/freezers/roof).
- Prior incident reports for the same area (when discoverable).
Even if you’re focused on prevention, preserving evidence can be essential if someone is injured and needs to prove notice later.
7) Document Your Shoes, Clothing, and Injuries (If a Fall Occurs)
If a fall occurs, your physical condition and what you were wearing can become contested issues. Stores often argue the shopper’s footwear caused the slip or that the person wasn’t injured.
What to save and photograph
- Shoes (take photos of soles; don’t clean them if residue is present).
- Clothing (wet spots, dirt, tears;